Charmer Tutorial |
|
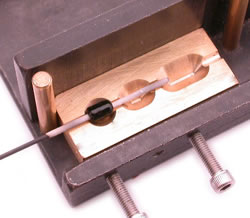 |
Lay down your initial footprint and check the size by either bringing the mandrel down to the base of the tool for reference, or the handle portion of the tool up under your mandrel. You will want your footprint to be about 1mm shy of the edges on both sides. It is better to estimate smaller at first because you can always add more to the footprint. Once it's on, you cannot take it off. |
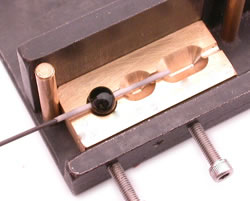 |
If you've followed our tip about determining how much glass you need for the cavity, you will know about how much glass to wind onto your mandrel. You might be surprise at how little glass you need for all cavities of this tool. The picture shows the suggested shape before pressing. It is the shape of a tiny donut. |
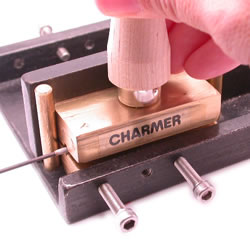 |
While centered over the cavity as shown above, press straight down
while steadying the tool against the back wall and left pole of the mold. Use the same steps for the other two cavities however, instead of making a donut, make it the same height but longer footprint width. |
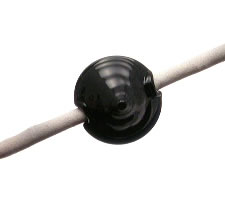 |
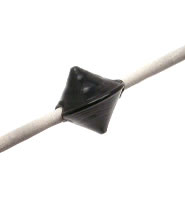
If you want added sparkle, you might decide to leave
the chill marks, especially with transparent beads. If not, fire polish
away any chill marks on the surface and you have a beautiful little spacer
with lots of character! If you like crisper edges, be sure to keep your
flame on the faces of the bead, not the edges. |
 |
|
|
Always FREE Shipping © 2005 & 2006 CattWalk™ - All rights reserved Website maintained by: WhoDidItDesign.com
|
|
