Trapezoid Tutorial |
|
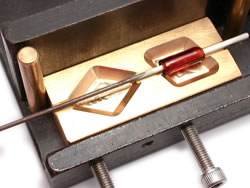 |
Lay down your initial footprint and check the size by either bringing
the mandrel down to the base of the tool for reference, or the handle
portion of the tool up under your mandrel.
For ths shape you want your initial footprint to be as long as the space between where the two ends of the mandrel hole intersect the cavity, not as wide as where the corners extend. So, your footprint will look a lot smaller than the finished bead will be.
|
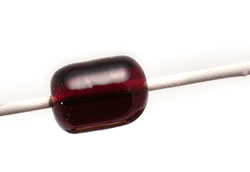 |
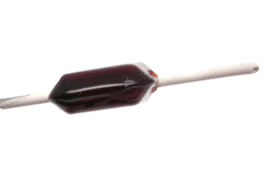
If you've followed our tip about determining
how
much glass you need for the cavity, you will know about how much
glass to wind onto your mandrel. The picture shows the suggested barrel
shape before pressing.
|
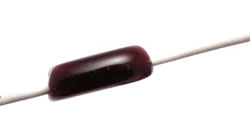 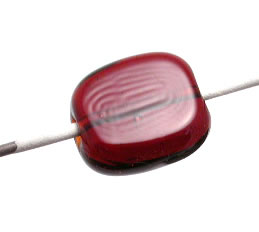 |
This is an extra step that other shapes don't require; but it's simple! Use your favorite method to press your barrel flat. Probably about 1/4" thick is good. The pressed shape doesn't have to be perfect, just so it resembles a rectangle. |
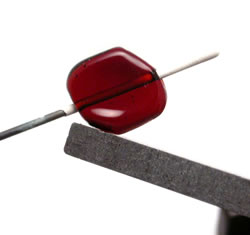 |
With your marver or other tool or method of choice, reheat your pressed glass and nudge two opposite corners in, just like the trapezoid cavity indicates. |
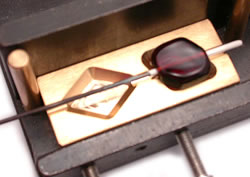 |
It won't look pretty but it gets you close enough to where the glass will now fit better into your cavity. |
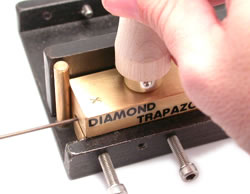 |
Reheat your glass enough that it will press into the cavity when pressing
now. While centered over the cavity as shown above, press straight
down while
steadying
the
tool against the back wall and left pole of the mold.
|
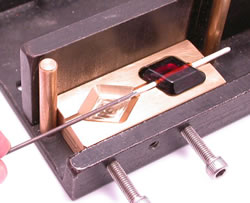 |
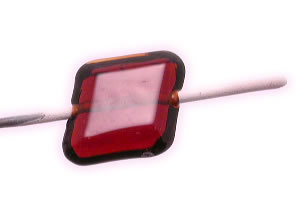
You might notice that the cooling of the glass from being in contact with the tools will cause "chill marks" on the surface of your bead. You can either flame polish or leave it as it is. To keep the faceted look, try to fire polish one facet at a time. |
  |
If any extra has seeped out the edges you can gently heat and tap them with your marver to coax them back into position. |
|
Always FREE Shipping © 2005 & 2006 CattWalk™ - All rights reserved Website maintained by: WhoDidItDesign.com
|
|
