|


Gift Certificates Available
| |
Bicone Tutorial
For proper alignment, make sure that your bottom tray is loaded into the
base with the X on the left side. When pressing, also make sure that the
X on the top of the tool is towards the left. |
|
|
Lay down your initial footprint approximately 1mm shy of the edges of
the cavity on both sides. Check the size by bringing
the mandrel down to the tool
for
reference.
Also, wind it on with enough glass to almost reach the bottom of the
trough (this depends on how much decoration you are going to add -- if you
are going to add a lot of decoration, it doesn’t need to reach the bottom
yet). If you've followed our tip about determining
how
much glass you need for the cavity, you will know about how much
glass to wind onto your mandrel.
|
|
 |
I like to finish my
ends with a nice pucker before I add my designs by turning my mandrel at a
45 degree angle and heating the end of the bead so that it will flow down a
bit and form the pucker. Next you should decorate your bead and when melting
your design in, heat, roll on a marver, heat, roll on the marver to slowly
melt the design smooth. This helps to ensure that the design doesn't smear.
|
|
|
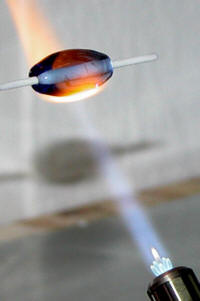
Now for the rolling
step…I make sure the bead is balanced (i.e. the bead is the same width on
all sides of the mandrel) heat the bead to a slight glow and then wait for
it to just stop glowing and then roll VERY gently the first time. If you
roll when it is too hot, it can take your bead out of balance. This first
roll will just slightly change the shape. Make sure that you have the
mandrel in a perfectly horizontal position so that neither end is up higher
than the other and also that your bead is centered between the 2 sides. Then
heat each side of the bicone and roll again. Heat and roll until you achieve
your desired bicone shape. Lightly heat the bead to remove any chill marks
and pop it in the kiln.
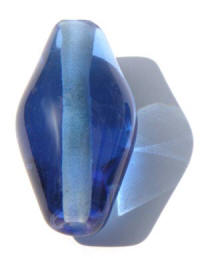
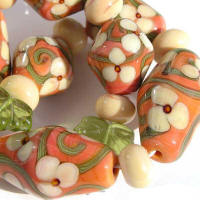
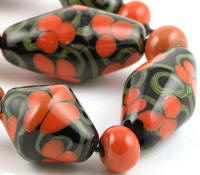
* The nice thing about this tool is that
depending on the amount of glass you initially wind on to your mandrel, you
can achieve a nice slim bicone or a chunky one.
|
 |


beads by
Gina Beardsley |
|