|


Gift Certificates Available
| |
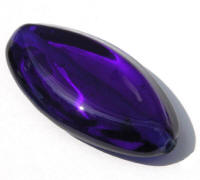
Marquis Tutorial

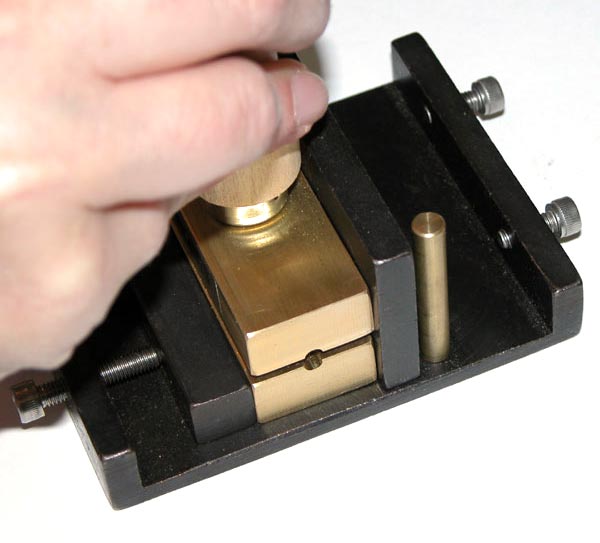
| For proper alignment, make sure that your bottom tray is
loaded into the base with the X on the left side. When pressing, also make
sure
that
the
X on
the
top of the tool is towards the left. |
| |
|
|
Lay down your initial footprint and check the size by either bringing
the mandrel down to the base of the tool for reference, or the handle
portion of the tool up under your mandrel. It is better estimate smaller
at first because you can always add more to the footprint. Once it's
on, you cannot take it off.
|
| |
|
|
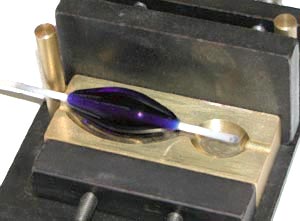
If you have followed our tip about determining
how
much glass you need for the cavity, you will know how much glass to
wind onto your mandrel. The beads should be a slim bicone with narrow ends
and plump center. |
| |
|
|
|
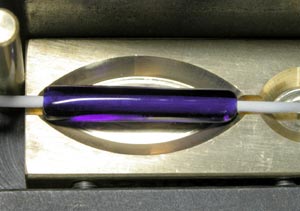
Do not press when soupy and fully molten. Wait for your glass to start
to slightly 'form a skin' (don't wait too long or you won't be able to
press) and then let it start to settle into the bottom of the tool so
it doesn't slide around when pressing. While centered over the
cavity, press straight down
while
steadying
the
tool against the back wall and left pole of the mold. |
| |
|
|
 |
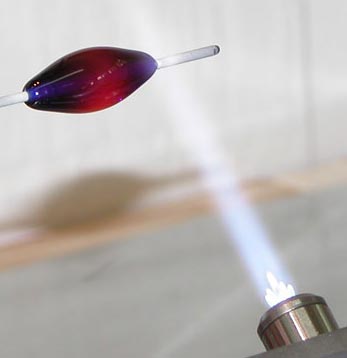
Fire polish away any chill marks on the surface. If you like crisper
edges, be sure
to
keep your flame on the faces of the bead, not the edges. If you like
more rounded
edges, shoot them with some heat and they'll start to round for you. |
|
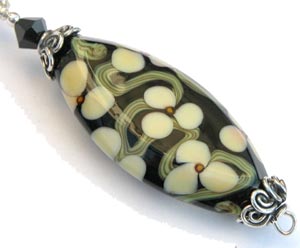
Bead by
Gina Beardsley |

Beads by
Lori Greenberg
|
|