|


Gift Certificates Available
| |
Ruffler Tutorial

| For proper alignment, make sure that your bottom tray is
loaded into the base with the X on the left side. When pressing, also make
sure
that
the
X on
the
top of the tool is towards the left. |
| |
|
|
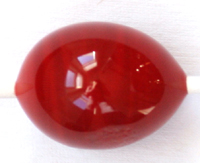
First make a football. For consistent size use another press to measure
the footprint. Lay the initial footprint of glass in a cavity and use it as
your ruler for each bead.
|
| |
|
|
Heat your football evenly and press a flat side on a marver. Reheat the
rounded side and press that on a marver. |
| |
|
|
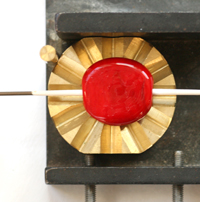 |
Heat the flat sides of your tab only. I just hold one side over the
flame for a few seconds and flip to the other for a while. Then give the
first side a small bit of reheat. Press with the ruffler. To get the
center in the middle I use the mandrel lined up with the center groove of
the texture as my guide when I'm laying it down on the base of the press.
|
| |
|
|
 |
It takes a few tries to get to know how long to heat the flat sides for
a specific glass, but once you do you'll have it. |
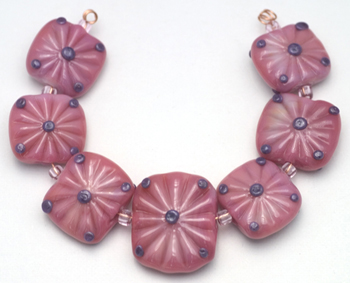
|
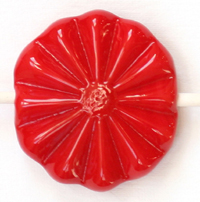
Bead by
Susan Sheehan |
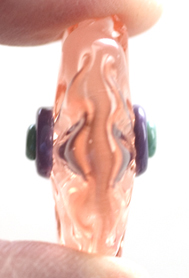
Bead by
Susan Sheehan |
|
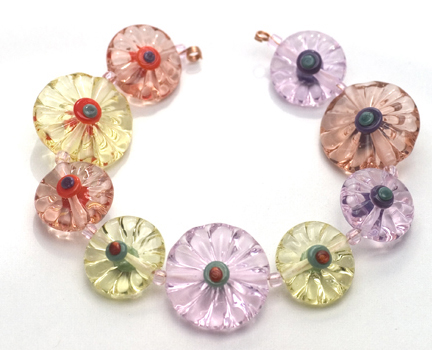
Bead by
Susan Sheehan |
Bead by
Susan Sheehan |
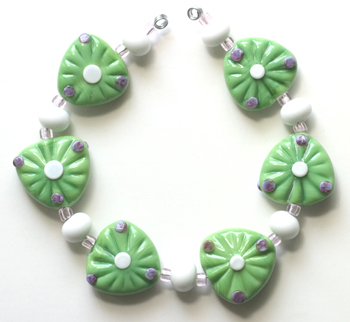
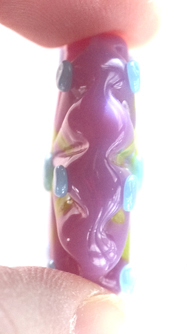
Bead by
Susan Sheehan |
|