|


Gift Certificates Available
| |
Crunch Tutorial
 |
| If you've been using a crunch already, have you wondered
how to make consistent sized beads? Well, here's a little trick. When you
lay down your initial footprint, use something as a reference to make it
the same length every time. I like to use the base of another press that
has the size that I like. If you don't have another press or one with a
size you like, you can also use a ruler on your work surface or even mark
a notch in your marver, or torch top marver. Was that tip worth the price?
|
| |
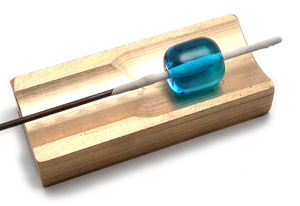
|
  base not shown
|
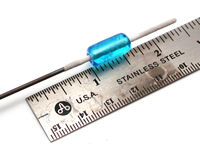
So, with that said, lay down your initial footprint and check the
size against a ruler or other press tool. It is better to estimate smaller
at first because you can always add more to the footprint. Once it's
on, you cannot take it off.
|
| |
|
|
|
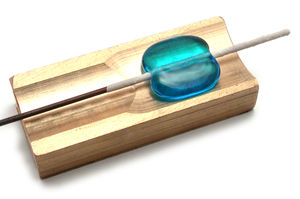
The nature of the Crunch tools is that you can use a variety of shapes
and amounts of glass for different effect. I like to use more of a barrel
shape, but round also works. Experiment and see what you come up with!
Do not press when soupy and fully molten. Wait until your glass starts
to slightly 'form a skin'.
One thing that is very important with this tool, if you want an even bead,
is that your bead is rounded all the way around the mandrel. That doesn't
mean round bead, that means same amount of glass on all sides; not lopsided.
|
| |
|
|
|
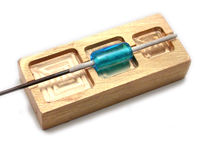
You will see a light indicator line down the middle of your tool base.
While your glass is still soft enough to press, but not too soupy molten, use
this line to center your glass. The mandrel should line up directly over
the indicator line.
When you have it centered like that, align the top part of your tool
against the back wall and left pole of the base and press directly straight
down.
|
| |
|
|